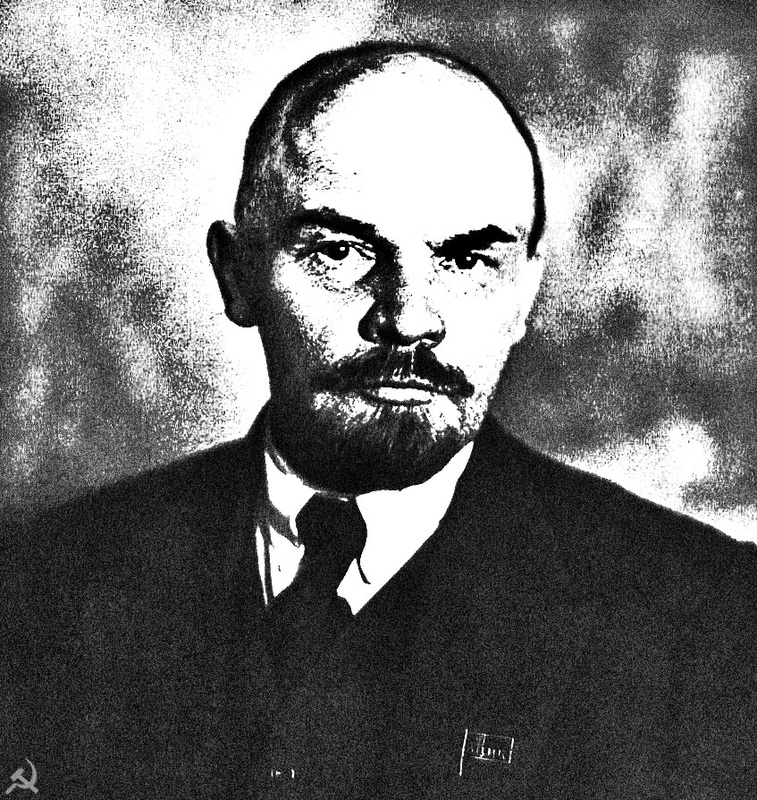
First, I found a picture of Lenin on the internet then i opened it. I first took the dodge tool to lighten the picture up so it did not look so dark then i took the film grain tool and made it have a little grain then I did control J to make a second layer and I put it on Overlay mode then i used the high pass filter to emphasize the face. Then I used the place thing in edit to place a picture of a hammer and a sickle to the area then i used the quick selection tool to select the hammer and the sickle and i hid all layers. Then i went to define brush and saved it and i used the brush tool in the corner to represent what side of the conflict each person was on. The picture was already in black and white however if you have a colored picture go to mode and click grey scale and it will make the entire thing black and white.
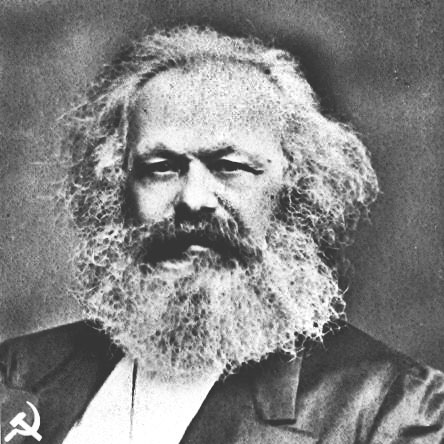
First, I found this picture and I then made it a little darker using the burn tool as the face and beard was a little too bright. Then since the photo had a redish tint I cropped the face and i went to hue and saturation and I desaturated the face so it was not colorful and was grey. Then i made a copy of the layer and set it to over lay and i went to cross hatch and reduce the stroke size and also the strength of them so they don't look terrible and that really helped me bring out the beard a little better than what was there before. I then also changed the sharpness of the image so it appears to pop out more than usual and then i used the hammer and the sickle from the last tutorial and i cut it out using the quick selection tool and cut it into a new layer. Then i used the free transform tool with shift so it kept the portotion and i filled it white.

First I found a Picture of Trotsky and then i used the quick selection tool to get rid of the backgroung and i added a white background. Then i created a layer mask and i used control a to selct all of him and then i used control c to copy him. Then I added him to the second window with alt click and i pasted him there and then i created an new brush that said equality and made it black and i used the size to make it fairly big then i created the spacing a little larger. Then i used control i to invert the image of him in the second layer and then in the first layer i changed the brush to white and then in the middle i used it so it make a defined equality and then i used the brush to make the hammer and the sickle in the corner.
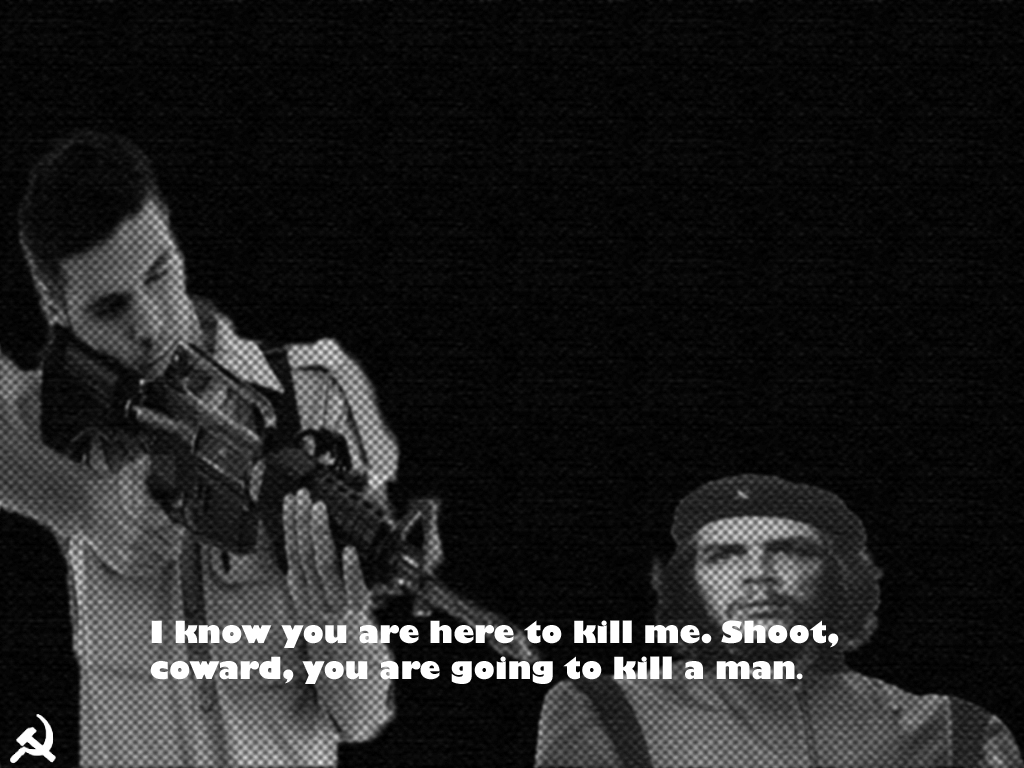
First, I went and found a pciture of Che guerra and also a soldier aiming a weapon and i took these pictures and i placed it onto a 8 by 11 paper and then i went to the first picture of Che and i used free transform to make him smaller and then I made the soldier to point the gun at him. I then made the background black and then I used half tone pattern to make it have small little dots that make it up and then I used the blurr tool to make them blend in a little bit better and then i used the smudge tool to make it even more look together. Then lastly I used cross hatch to it to make the water mark on the soldier not be as prominant and even disappear. Finally, I made the little hammer and sickle with a the brush tool.
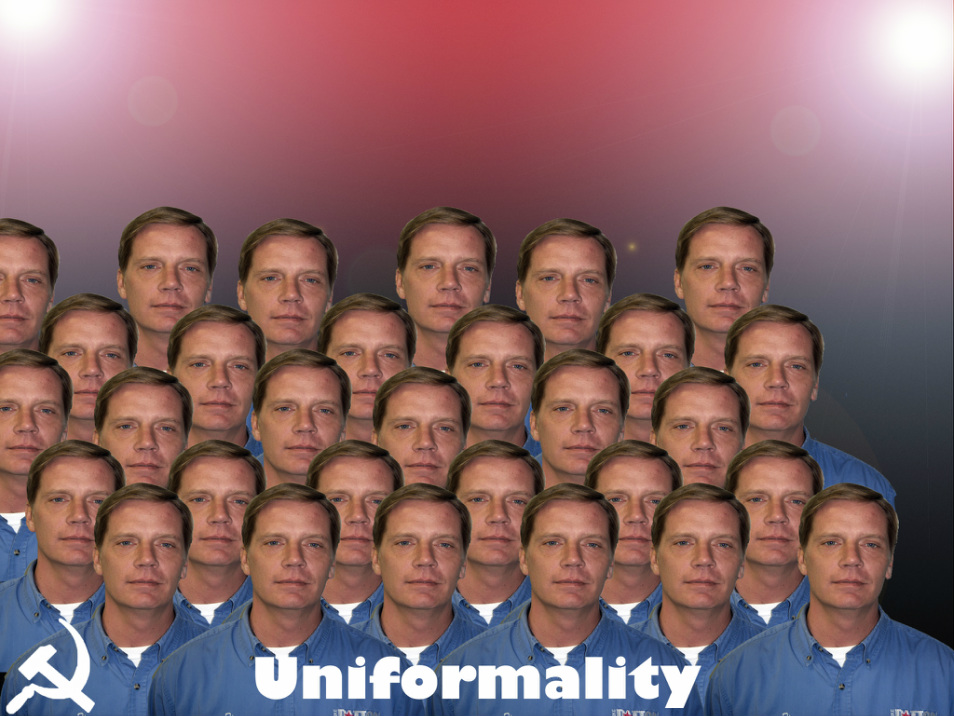
First, I found a picture of a man online and got him selecting using the quick select tool and then I took him off the background with cut and then I made a new layer and then i made a gradient that had a red and black were the black took up most of the bar. Then I use the lens flare and made it a little less bright so that it does not take up every thing does not get covered up. Then I transformed the man so he was smaller and I copied him so he was smaller and I then i did control J to make more and more him and i put them up against to one another and if you see the other shoulder then use the erase tool to get rid of the shoulder. Then i wrote a word up infront to make it the statement and i used the brush tool to make the hammer and the sickle in the corner.
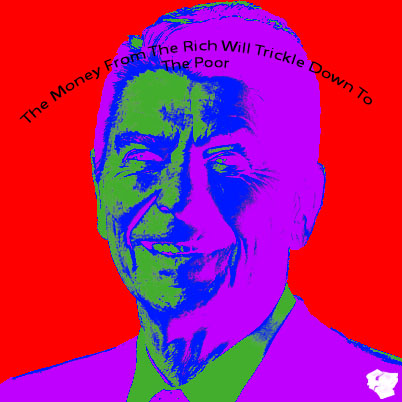
First, I found a picture of Ronald Regan and then I used the quick selection tool to just select his face and then I used the cut tool and I took off the background of the image. Then I took The Image went to color range and selected the highlight, Midtones, and the shadows. And then after each time I selected the color I used the shortcut shift f5 to fill it in after I used new later by copy to get then each a new layer. When filling make sure preserve transparency is checked or else the whole screen will be that color. You can choose colors that are close to each other on the color wheel. Then you take the original photo and put it back on transparency so it fills in the tiny areas that were not selected. The you use the text tool and write something you want then go to the T that looks like it is on a hill at the top with the text tool and select arc so it curves. Then make the background a color that you want and then use the brush tool to make the little money sigh in the bottom.
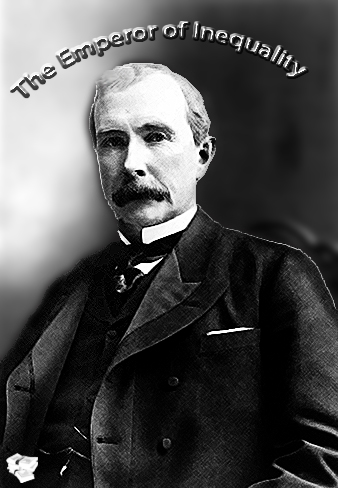
First I found a picture of Rockefeller and then I created a copy of the background and deleted the original background. Then I used the quick select tool to get the background. I then blurred the background to get rid of the images in the back. Then for him since i did not do well when on cutting him out i used the clone tool to make his hair look okay as his hair was missing a little piece. I then used the stroke tool to get the background to meet him and I just used the background as a base for the color and then i used the increase size to fill in the gap. Then for him i used the the cross hatch to make the picture to have texture. Since, some areas were dark so I used the dodge tool to make the dark areas lighter. Then I used the text tool to create a saying a phrase and then i used the text box manipulation tool to give the words an arc and then i went to the bevel and emboss layer style. I then embossed the word to make it pop out make sure you only increase the strength not the size or it gets wacky. I then used the brush tool to make the money stack in the corner to mark it as capitalist.
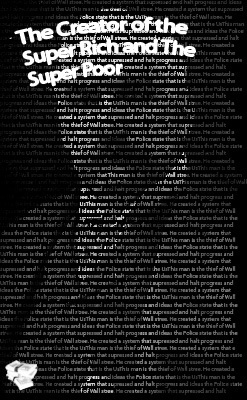
First I found a picture of JP Morgan Chase then I made a second version of him and made a new layer and filled it black and put this on top of everything. Then I wrote a ton of words that had something to do with him creating the super rich with his firm and make sure it covers all the picture if you have to copy and paste it to make it larger. Then I made the text white and put a layer mask on it so that you can then go to the base picture and click control a and then control c and then alt click the second window of the layer mask and you control v to paste it in there and then it would make them create the words. The word is used the text manipulator tool and i put it on arc and then i reduced the width to make sure it does not spill over. Then I went to strock and made it white and just large enough to make it pop out as it just blended in with background. Then I used the brush tool to make the money symbol to make the money sign in the bottom.
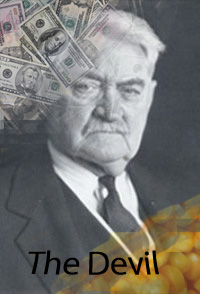
First, I found a picture of the founder of Monsanto then i found pictures of money and corn. I then took the picture of the money to get the move tool and move it in the corner and then I went to the eraser tool and turned down the opacity and slowly started to lower the opacity while erasing till i got into the corner where the opacity was 20%. Then I did the same for the corn so that it looks like it fades in. Then I wrote the devel with the text tool and then used the text box manipulator to get the sorta of the buldge and i used the shell down for this effect.
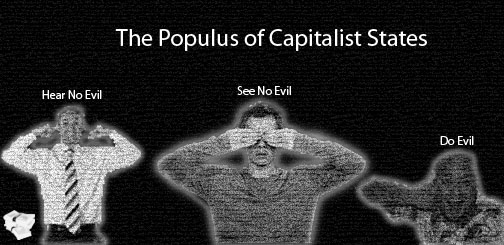
First, I found the pictures of several people each doing the following action holding their thumb up, covering their eyes and a person closing his ears. Then I tool Them all on a 7 by 7 page and made them big enough to fit on on small side and then i went to crop and made it a lot smaller. Then I took each and selected the person and deleted the background after i cut them off into a new layer then I transformed them so they all fit. Then I modified the selection to feather and i made it about 3 pixels dependent on how far the feathering was going to go. Then since most of the pictures had watermarks i used the film grain filter to add a little grit and then the texture paper filter then i changed it to burlap and made each stroke a lot smaller so it is hardly noticeable. Then If you can see the water mark still use the clone stamp tool to copy a part and get rid of those pesky watermarks. Then I found a picture of a stack of money and then i selected the area around it then i selected the inverse of that so that i get the money stack and i hid all layer except that layer and then used the rectangular marquee tool to select the money and then i used define brush to get the new brush. The I wrote the three things that often happens in Capitalist states and is a play on a section from the bible. Lastly, I used the money brush with a white color in the back to show the section this is for as this is for capitalism.
